
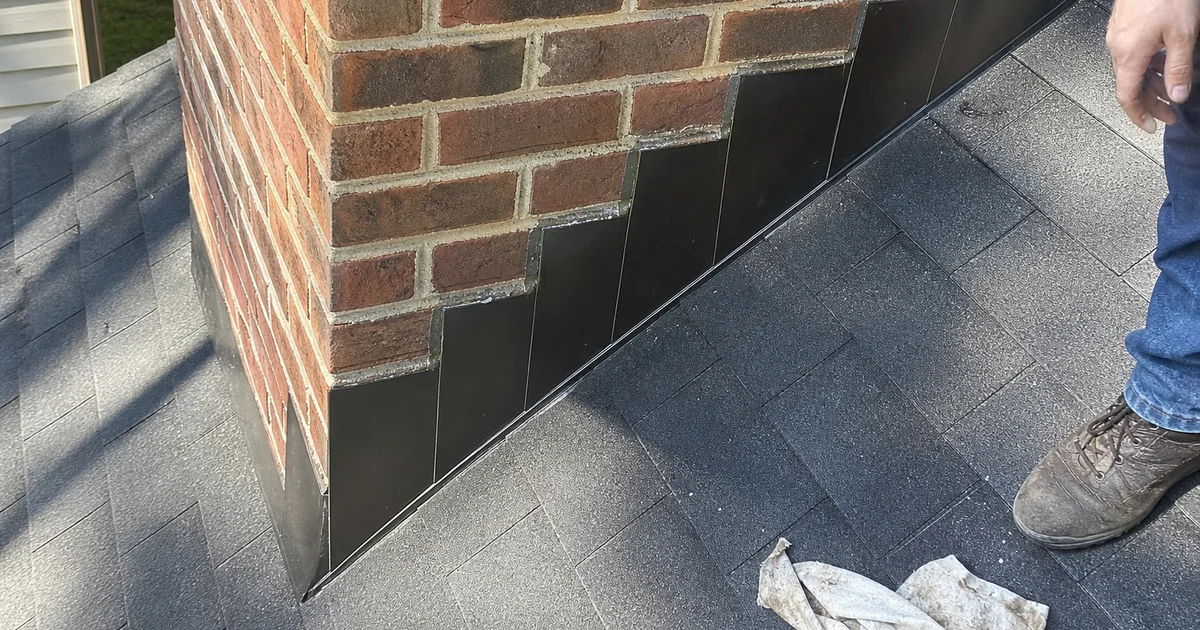
More chimney leaks come from failed flashing than any other single source, which is why it’s a core part of our chimney leak repair and waterproofing work — and just one of the common causes of a leaking chimney. Here’s exactly what flashing is, why it fails, and how it’s properly repaired.
The Two-Layer Flashing System
Proper chimney flashing has two components working together:
Step flashing. L-shaped metal pieces woven into each row of shingles as they meet the chimney. Each piece overlaps the next like scales, directing water down and away.
Counter-flashing. A second metal layer embedded into a groove cut in the chimney mortar joints, folded down to cover the top edge of the step flashing. This is the primary weather seal.
Together, they create a redundant, water-shedding joint that should last decades.
Why Flashing Fails
Aluminum corrosion. Aluminum step flashing corrodes from prolonged wet contact, especially where sealants have failed and water pools against the metal.
Sealant failure. Tar-based mastics and even modern polyurethane sealants dry out, crack, and pull away from the metal or masonry over time. Once the sealant fails, water enters at the top of the counter-flashing.
Improper installation. The most common failure mode on newer chimneys. Contractors who cheat the installation:
- Bend flashing over the chimney without embedding counter-flashing in mortar joints
- Use only surface-applied sealant (called “surface-mount flashing”) instead of proper cut-in counter-flashing
- Skip step flashing entirely, using only large L-flashing at the top and bottom of the chimney
- Fail to install a cricket saddle behind wide chimneys
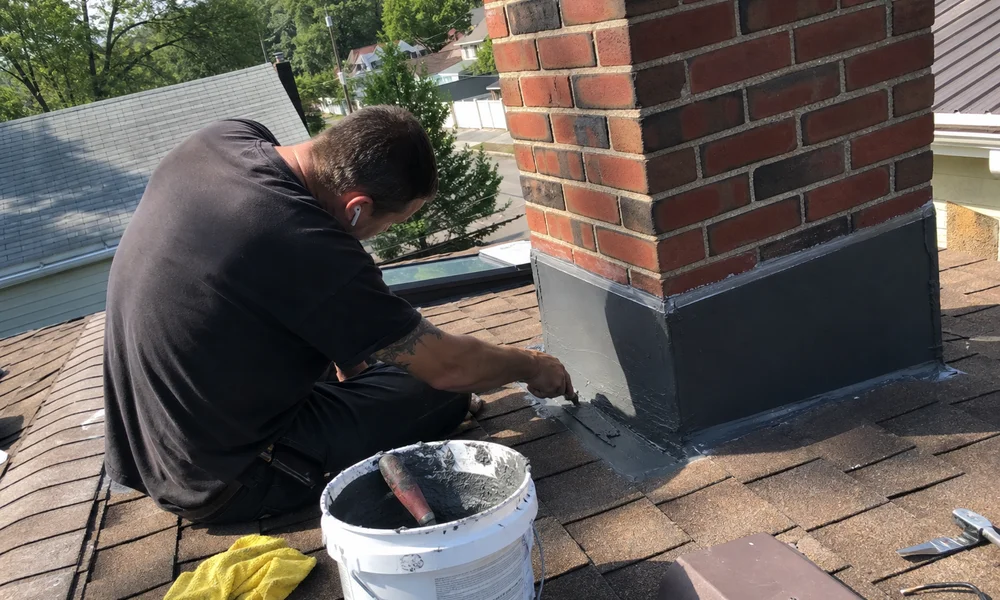
Missing cricket saddle. On chimneys wider than 30 inches (measured across the upslope side), code requires a cricket — a small peaked structure behind the chimney that diverts water around it. Without a cricket, water pools against the upslope side and finds any weak point in the flashing.
Materials, Ranked
- Copper — 60+ year life, resists corrosion, patinas beautifully. Best long-term choice. Costs 3–4x aluminum.
- Lead-coated copper — even longer life. Rare, expensive.
- Lead — traditional choice on historic homes. Long life, malleable.
- Aluminum with polyurethane sealant — 15–25 year life. Cost-effective standard.
- Galvanized steel — corrodes at cut edges. Not recommended.
The Repair Process
Full flashing replacement typically involves:
- Roof preparation. Remove shingles adjacent to the chimney to access step flashing.
- Old flashing removal. Pry out corroded step flashing and cut out counter-flashing from mortar joints.
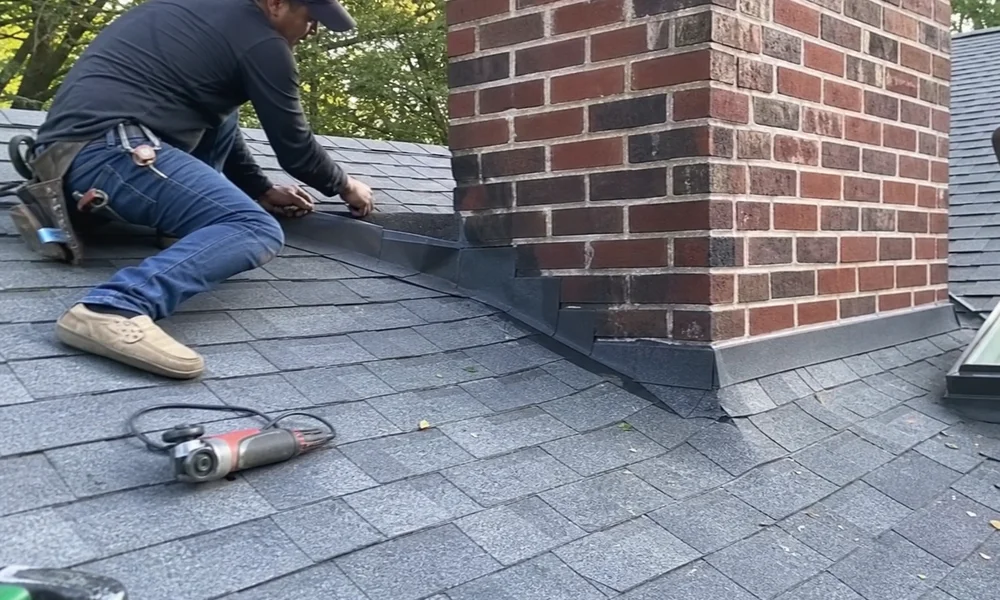
- Grind mortar joints. Cut fresh 3/4-inch deep grooves in the chimney mortar to receive new counter-flashing.
- Install step flashing. New L-flashing woven into shingle courses.
- Install counter-flashing. Bent to fit, embedded into fresh mortar joints, sealed with high-quality polyurethane.
- Add cricket if chimney is wide enough to require one.
- Re-shingle where shingles were removed.
- Final seal at all top edges with polyurethane.
Cost Range
- Basic flashing repair (localized failure) — $300–$700
- Full flashing replacement (aluminum) — $700–$1,500
- Full flashing replacement (copper) — $1,500–$3,000
- Add cricket saddle — additional $500–$1,500
When to Repair vs Replace
- Small localized leak, otherwise intact flashing → targeted repair with new sealant and section replacement
- Widespread aluminum corrosion → full replacement
- Any installation without proper counter-flashing (surface-mount only) → full replacement
- Chimney wider than 30” with no cricket → add cricket during any flashing work
Book a Flashing Assessment
Ready to solve a flashing leak? See our chimney leaks service or contact us.
Chimney Leaks & Waterproofing
Flashing repair, crown sealing, and breathable waterproofing to stop chimney leaks before they rot framing and stain ceilings.
Learn About Leaks & Waterproofing