
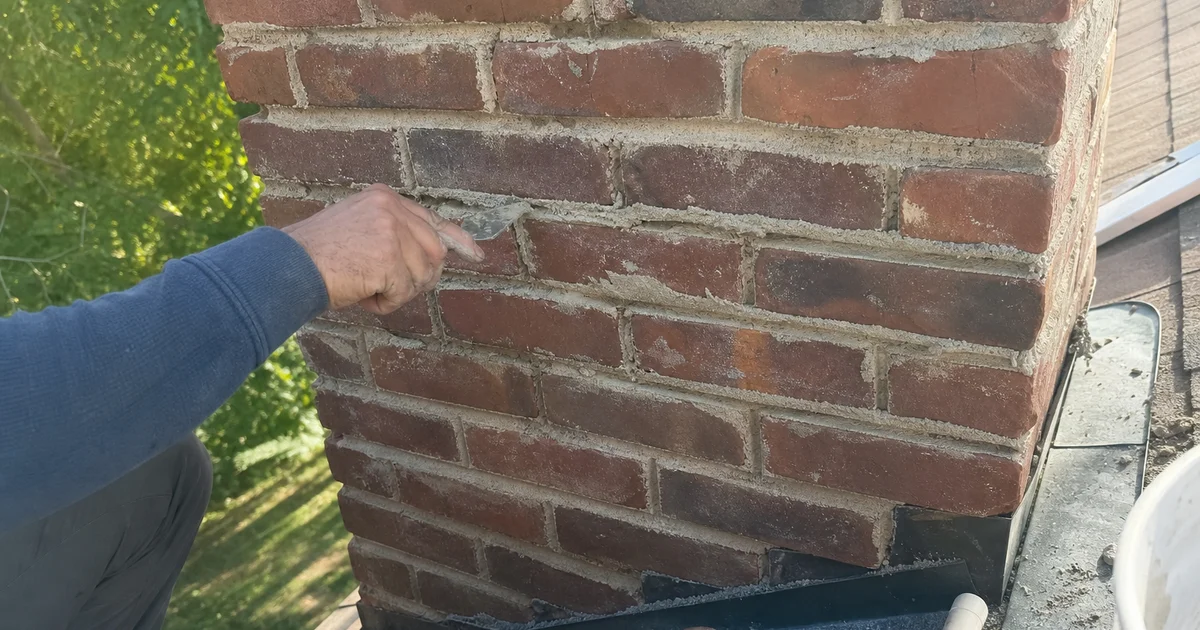
Tuckpointing is the process of removing failed mortar from between chimney bricks and replacing it with fresh mortar matched to the original. It’s the single most common chimney masonry repair we do on Connecticut chimneys, and — done right — it adds decades to a chimney’s life.
Tuckpointing vs Repointing
Both terms get used interchangeably in modern chimney work. Historically:
- Repointing — replacing failed mortar with fresh mortar
- Tuckpointing — repointing plus a decorative contrasting inner strip to make joints look sharp and uniform
For chimney repair purposes today, both mean “grind out failed mortar, pack in fresh.” Don’t worry about the semantic difference — worry about the mortar match.
Why Mortar Joints Fail
Mortar is intentionally softer than brick. It absorbs movement and moisture so the brick doesn’t crack. Over time, that sacrificial role catches up:
- Water absorption into mortar creates freeze-thaw damage
- Sulfate attack from combustion gases and rainwater degrades old lime
- Ultraviolet exposure and thermal cycling weaken the surface
- Mismatched original mortar (wrong sand, wrong lime ratio) fails early
Signs You Need Tuckpointing
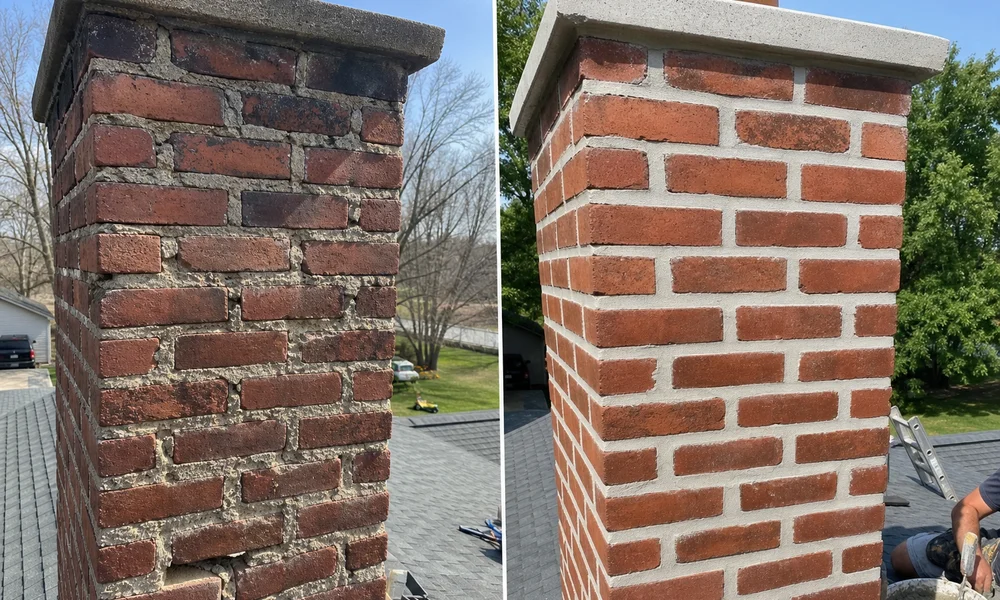
- Visible gaps or missing sections between bricks
- Mortar dust or sand at the base of the chimney
- Joints you can pick out with a fingernail or key
- Efflorescence (white staining) indicating water movement
- Loose bricks or bricks that shift when tapped
The Right Mortar for Your Chimney
This is where most tuckpointing jobs fail. Use the wrong mortar and you make things worse.
Pre-1930s brick (Colonial, Federal, early Victorian): Requires lime mortar — Type O or historic putty lime mixes. Old brick is soft and porous. Modern Portland cement mortars are too hard and will crack the brick as it moves and expands.
1930s–1960s brick: Type N mortar (lime-Portland blend) is usually right.
1970s onward: Type N or Type S depending on the brick and exposure.
We match mortar type to your chimney era. Never a one-mix-fits-all approach.
What Tuckpointing Looks Like on the Job
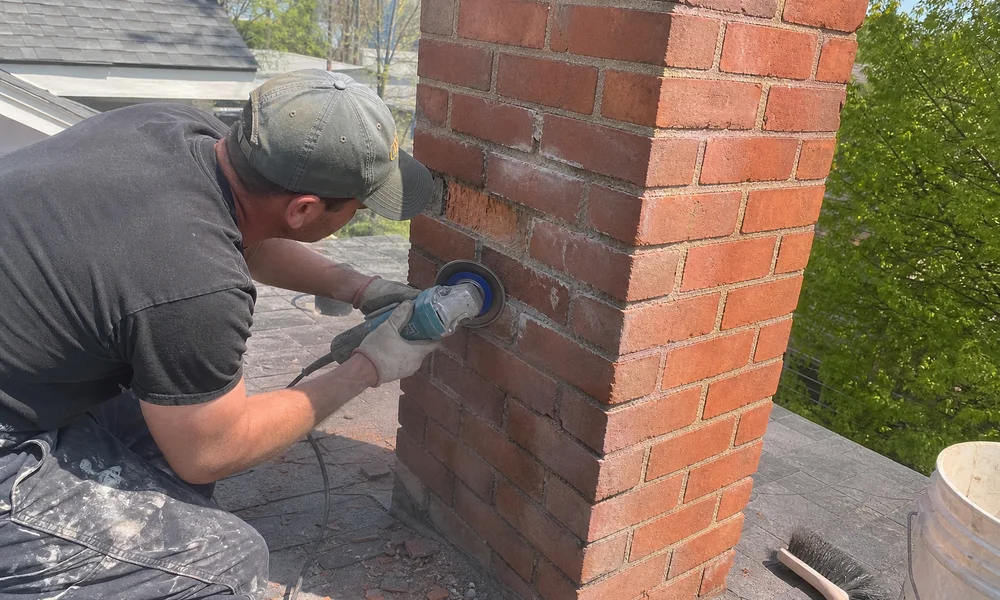
- Grind out the old mortar to at least 3/4 inch depth using diamond-blade angle grinders
- Clean the joints with brushes and (sometimes) compressed air
- Dampen the brick lightly so it doesn’t suck moisture out of fresh mortar
- Pack new mortar into the joints in layers, tooling each layer as it sets
- Strike the final surface to match the original joint profile (concave, flush, weathered)
- Cure for several days, protecting from rain
When Tuckpointing Is Enough vs a Rebuild
Tuckpointing works when the bricks themselves are still structurally sound. If the bricks are spalling, cracked, or the chimney is leaning, tuckpointing alone won’t hold. See our repair vs rebuild guide for the decision framework.
Cost & Timing
Chimney tuckpointing typically runs $500–$2,500 depending on chimney size, height, and access. Most jobs complete in 1–2 days on-site. We schedule for warm dry weather so mortar cures properly — spring through early fall is ideal.
Ready for an assessment? See our chimney masonry repair service or book a free estimate.
Chimney Masonry Repair & Rebuilding
Complete chimney masonry repair — tuckpointing, brick repair, crown work, firebox and smoke chamber rebuilding across central Connecticut.
Learn About Masonry Repair