
Rebuilding a Freeze-Thaw-Damaged Chimney in Old Wethersfield
How our masonry crew rebuilt a deteriorating historic-home chimney in Wethersfield, CT — and left the roof, gutters, and lawn spotless when we finished.
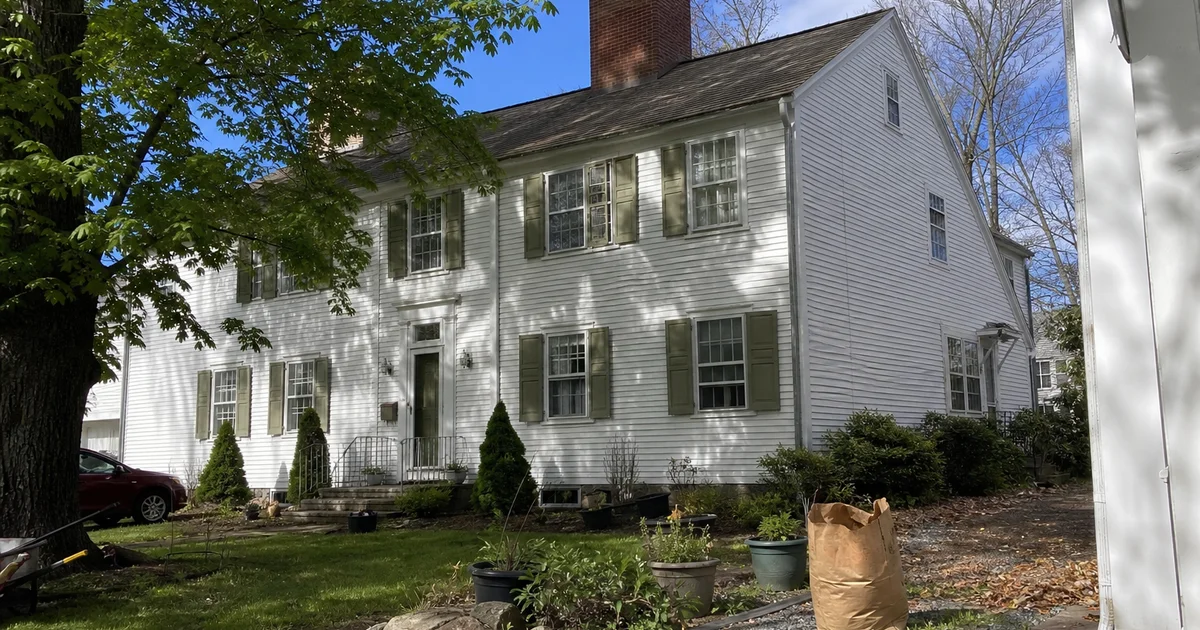
Every so often we get a job that sums up why we do this work. Susan and Tom’s colonial in Old Wethersfield was one of them.
Their chimney had been slowly failing for years. Twenty-plus Connecticut winters of freeze-thaw cycles had done what freeze-thaw cycles always do — worked water into hairline mortar cracks, frozen it, expanded it, cracked more. By the time we came out for a free estimate in early spring, the chimney was leaning slightly off plumb, mortar joints had washed out on the weather side, and full brick faces had spalled off in three spots above the roofline.
Here’s how we rebuilt it — and how our white-glove cleanup played out on a homeowner who cared as much about her garden as about her chimney.
The Diagnosis
We ran a full Level 2 inspection. The video scan showed the interior flue tiles were, remarkably, still mostly sound — no through-cracks, no glazed creosote. The problem was the exterior masonry.
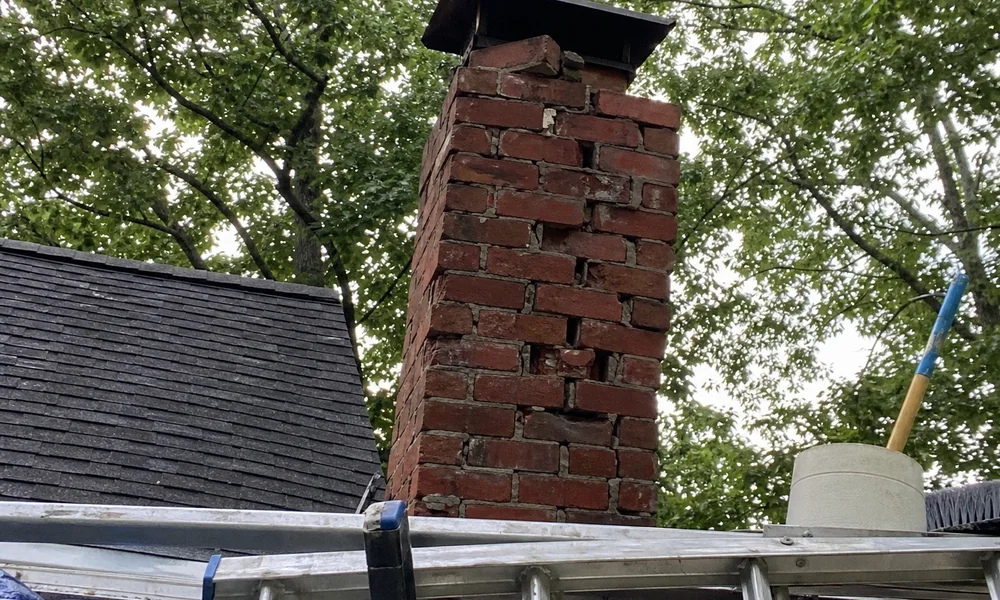
Findings:
- Extensive spalling — brick faces flaking off on all four sides above the roofline
- Missing mortar joints throughout the top 4 feet
- Leaning — chimney was about 1.5 inches out of plumb, likely from decades of asymmetric water damage
- Cracked crown with active water penetration
- Sound base — masonry below the roofline was largely intact
The verdict: a partial rebuild above the roofline was the right call. A full-height rebuild would have been overkill, and repair-only would have been throwing good money at brick that was too far gone.
The Scope
We proposed:
- Take the chimney down to just above the roofline (about 5 feet of rebuild height)
- Rebuild with matched historic brick in the original Colonial style, using lime mortar so the new work moves with the old
- Pour a proper new chimney crown with a wash and drip edge
- Install new step and counter flashing at the roofline
- Add a stainless steel chimney cap to prevent future rain intrusion
- Apply Silane-Siloxane breathable waterproofing to the entire chimney
Susan and Tom asked one question: “Will it look right on the house?” It’s the right question for a historic home. We sent them photos of similar rebuilds we’d done on Farmington Valley colonials, and they signed off.
The Rebuild
Weather cooperated. Four days of dry, mild spring weather in a row is a gift in Connecticut, and we took it.
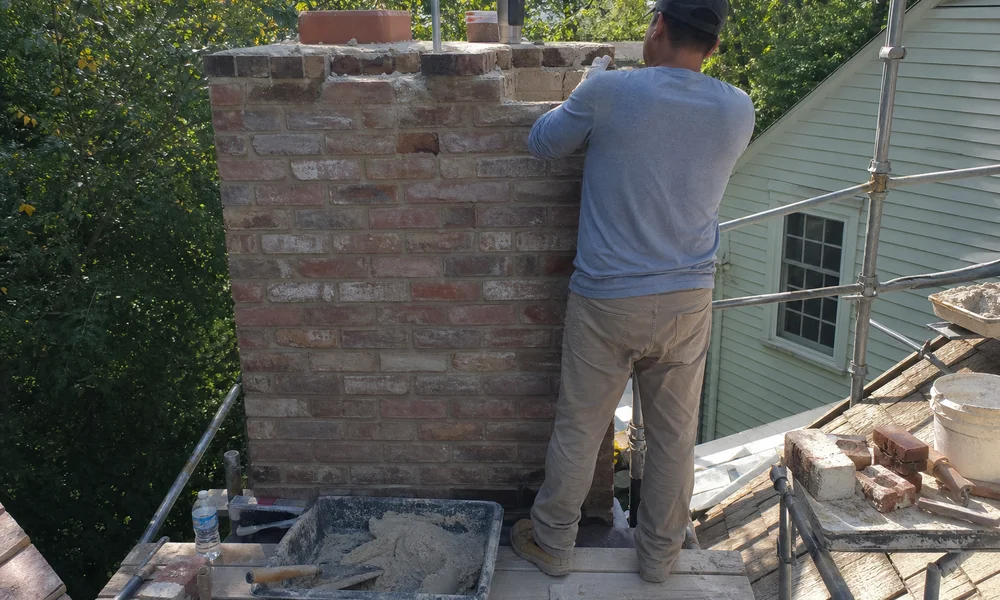
Day 1: Scaffolded up, protected the roof and lawn with tarps, and dismantled the top 5 feet of chimney brick by brick. Salvaged what we could of the old brick for spot-matching, discarded the rest.
Day 2: Rebuilt using matched historic brick, working in lime mortar. Because the chimney had been leaning, we corrected the plumb slowly over the rebuild height so the top ended up square.
Day 3: Poured the new chimney crown with the correct overhang and drip edge — this is the piece most masons cut corners on, and it’s why so many chimneys leak from the crown within 10 years.
Day 4: Set the new flashing, installed the stainless cap, applied the waterproofing, and started the white-glove cleanup.
The White-Glove Cleanup
This is the part Susan mentioned in her review. Masonry work is messy. Mortar dust, brick chips, and dropped tools are unavoidable. Here’s what we do about it — on every job:
- Roof wash. We hose off the roof to clear mortar dust and brick chips before they stain the shingles.
- Gutter clean. Anything that fell into the gutter gets cleaned out so the next rain doesn’t clog the downspout.
- Plant care. Any garden beds under the chimney get watered thoroughly to rinse any dust off leaves.
- Lawn rake. Footprints from the crew moving equipment get raked out of the lawn.
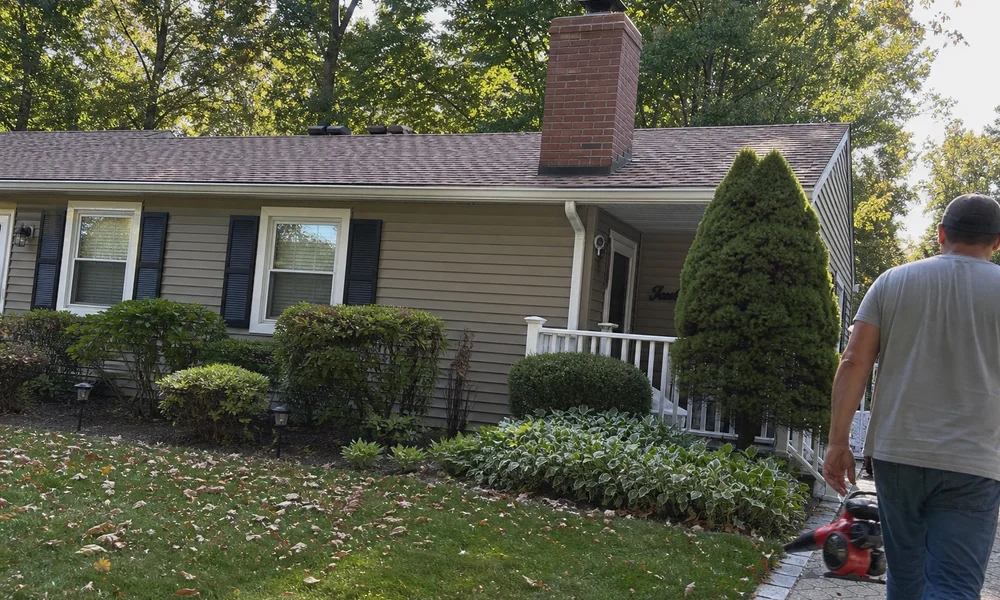
Susan’s exact words in her review: “You’d never know they were here — except the chimney looks brand new.”
What This Job Cost
Every rebuild is different, and we won’t quote a price without seeing a chimney. For context, a partial above-the-roofline rebuild in central CT with matched historic brick typically lands in the $6,000–$12,000 range depending on chimney height, brick match, and roof access. Susan and Tom’s rebuild was in the middle of that band. See our Connecticut rebuild cost guide for a more detailed breakdown.
When to Consider a Rebuild vs Repair
If you’ve been eyeing your chimney and wondering whether it’s repair territory or rebuild territory, here’s the honest short version:
- Localized damage (a few spalled bricks, one bad joint, a cracked crown) — usually a targeted repair
- Widespread damage (spalling on multiple sides, mortar failure throughout, leaning) — usually a partial or full rebuild
- Interior liner damage — needs a scan to decide between relining and rebuild
Best next step: book a free estimate. We’ll come out (or run a virtual assessment), scan the chimney, and give you an honest recommendation. If a repair fits, we recommend a repair.
Ready to talk? Contact us or call (860) 305-5234.
About Danny Dawson
Danny leads the masonry crew at West Hartford Chimney Repair, specializing in tuckpointing and historic restoration.